So, I've heard a couple times that you can marble paper using shaving cream, but until today had never tried it. I was looking for an interesting one-day activity as we approach a busy time of year with several half days and alternate schedules for special events. In a short summary of today's lunch hour adventure: it works.
Materials:
Tray for shaving cream (I used 8"x10" foam trays)
Several bottles of shaving cream per class
Small pieces of mat board or cardboard (roughly 3x3")
Pigment (I used Prang watercolors, which I find preferable to Crayola for student-grade WC)
Soft brushes
Combing devices: forks, hair picks, wide-tooth combs, toothpicks, etc.
Cardstock for printing
 |
| Materials |
Step One and Two: spray shaving cream on tray, then smooth it like frosting on a cake with a piece of cardboard to 1" thick.
Brush watercolor lightly to the surface of the shaving cream without pressing the brush into the material. Using lines or smaller/thinner areas of color will help the marbling texture to show up in later steps.
Step Three: use a comb to lightly pull lines through the pigment. Just scratch the surface, do not drag the comb too deeply through the shaving cream. My most successful tool for this step was a DIY comb made from taping toothpicks between two pieces of mat board. The thinner tines did not "goop up" as easily as did the fork and hair comb.
Step Four: press cardstock lightly into pigment. I used white cardstock cut to 6"x9" and folded in half to make a good greeting card size.
This is normal:
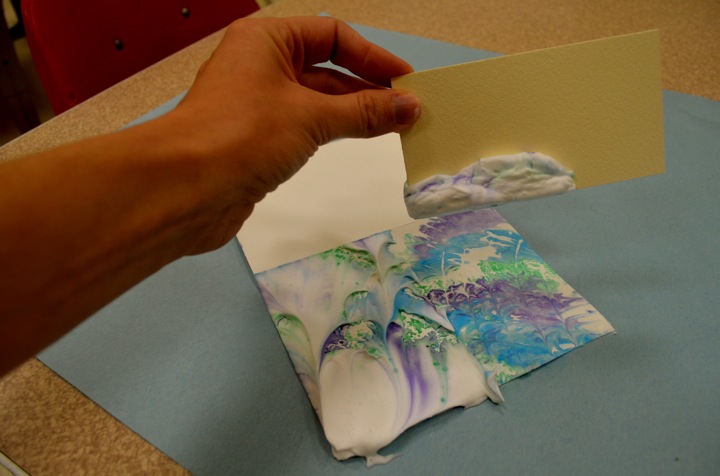
Step Five: Use mat board scraps to scrape off the shaving cream from your print. I did this immediately and it did not smear the design. If your paint was especially thick or runny (as in watered-down tempera), I read other sources that recommended leaving the card to dry overnight before scraping.
Side one: done.
Out of curiousity, I pulled a "ghost print" from the remaining pigment on the shaving cream for the back of my greeting card. I liked the results!